
Recording music is both a technical process and an artistic journey. Whether you’re capturing a single, an EP, or a full-length album, understanding the step-by-step workflow inside a professional recording studio can transform how you prepare and perform. Every session follows a rhythm—from gear setup to the final take—that blends creativity with precision.
Practicing and recording in a well-equipped space like Studio répétition Base Bin gives musicians the confidence and tools to move seamlessly from idea to final product. Here’s a behind-the-scenes look at what happens during a typical studio recording session.
1. Pre-Session Planning and Song Preparation
Before stepping into the booth, preparation is essential:
- Finalize song arrangements and rehearse transitions
- Prepare lyric sheets or chord charts for quick reference
- Choose your instrumentation and decide on key tempos
- Create a session plan for what you want to accomplish (e.g., record two full tracks, track vocals, re-record a solo)
Good planning reduces wasted time and helps the entire team stay focused.
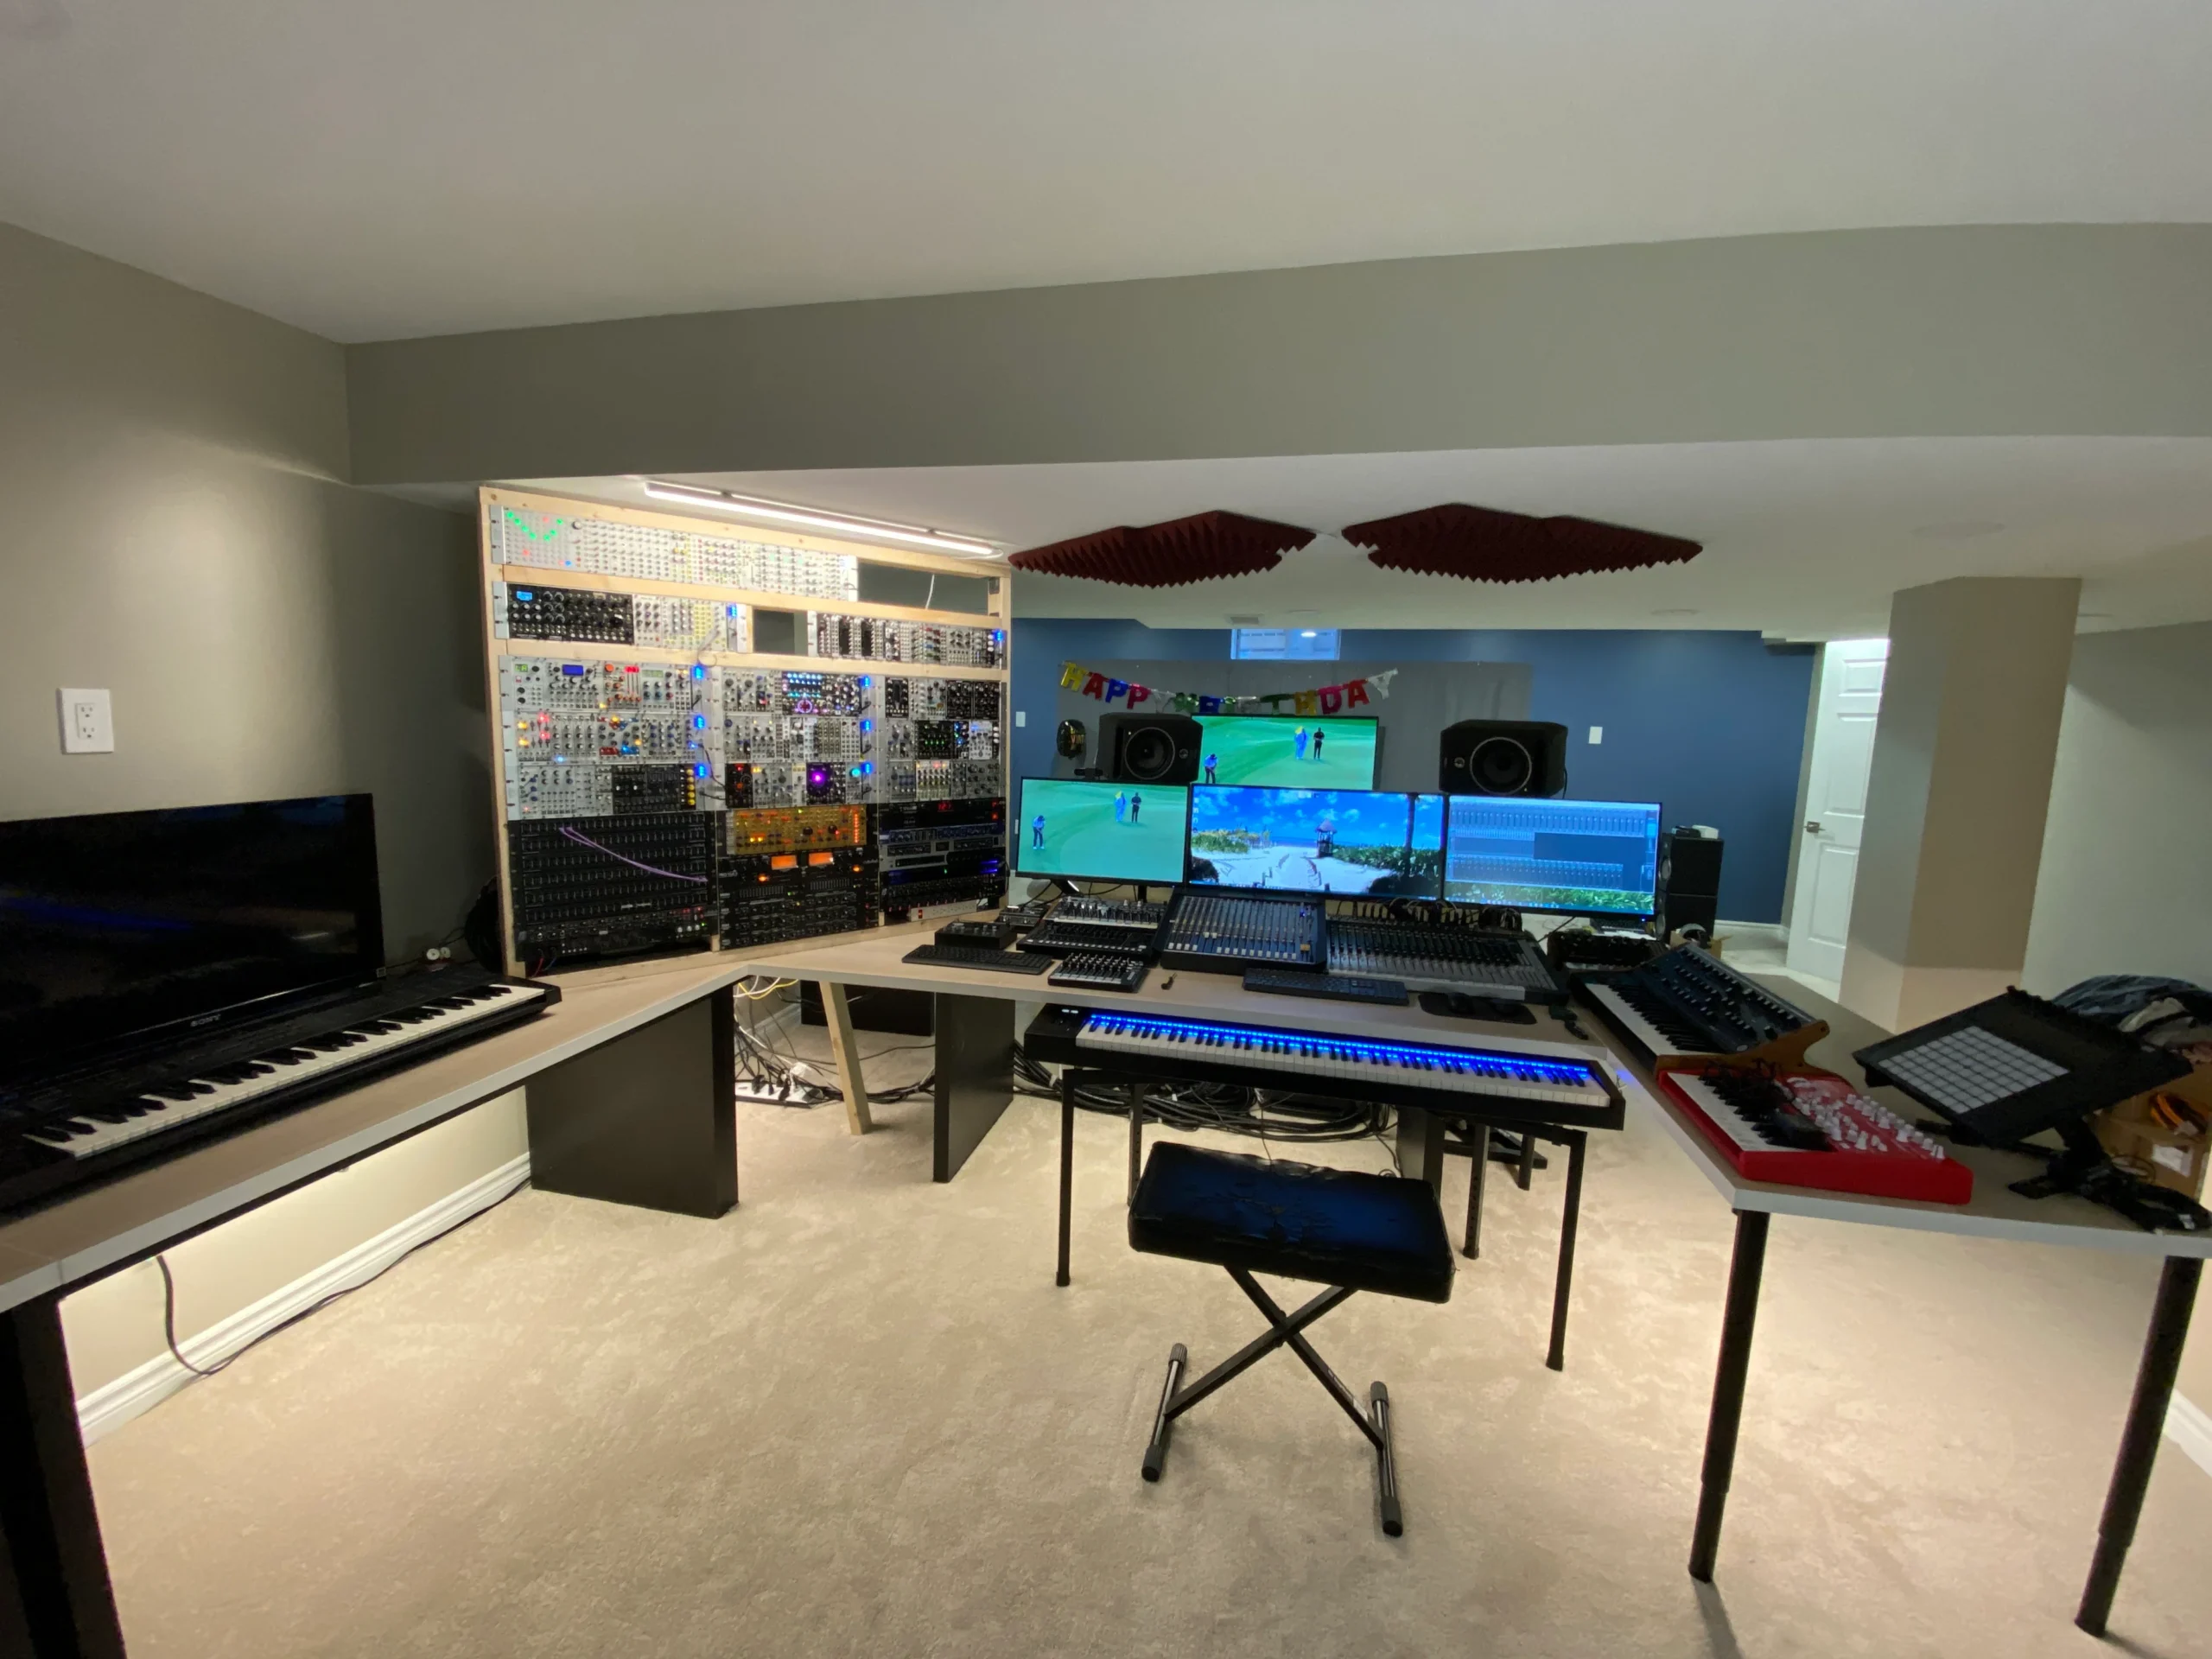
2. Gear Setup and Signal Check
Once in the studio, the first task is setting up the gear. This includes:
- Microphone placement (for vocals, drums, amps, acoustic instruments)
- Direct input (DI) setup for bass, keyboards, or digital instruments
- Headphone mixes tailored for each musician
- Testing signal flow from instrument to mixer to DAW (Digital Audio Workstation)
The engineer ensures everything is connected properly and sounding clean before hitting “Record.”
3. Sound Check and Level Balancing
With gear ready, the sound engineer and band will do a dry run to:
- Balance audio levels across all inputs
- Adjust EQ, compression, and reverb settings
- Monitor headphone mixes for clarity and volume
- Set click track timing if used
This phase ensures that everything will sound professional and consistent once tracking begins.
4. Tracking: Recording the Core Instruments
Most recording sessions start with tracking drums and rhythm instruments, followed by:
- Bass
- Rhythm guitar or keys
- Lead instruments
- Vocals
Each layer is recorded with care, often using a multi-track approach that allows for individual editing later. Musicians may record multiple takes to choose the best performance or build a composite take from several attempts.
5. Overdubs and Layering
Once the basic tracks are laid down, it’s time for creative layering:
- Vocal harmonies and backing vocals
- Additional guitars or synths
- Percussion or sound effects
- Solo parts or ad-libs
This stage adds depth and personality to the recording and gives producers the flexibility to build a dynamic mix.
6. Editing and Cleanup
After tracking, the engineer will:
- Trim and align takes to remove unwanted noise or mistakes
- Comp multiple takes into a seamless performance
- Tighten timing and pitch if needed using tools like Auto-Tune or Melodyne
- Organize track layouts for smooth mixing
Clean edits make the mix stage faster and more effective.
7. Mixing the Tracks
Mixing is where raw audio becomes a polished product. The engineer:
- Balances volume and panning for each track
- Adds EQ, compression, delay, and reverb
- Automates levels for dynamic shifts
- Ensures consistency across speakers and headphones
Multiple versions may be reviewed before the final mix is approved.
8. Final Take and Post-Session Review
After the final mix, artists listen to the session’s results:
- Review takes and request revisions if needed
- Export stems or stereo mixes for mastering
- Plan next steps: additional sessions, mastering, or distribution
Some studios offer rough mixes immediately for quick reference or promotional use.
Conclusion
A studio recording session is a structured yet creative process that transforms rehearsal energy into lasting sound. By following a clear step-by-step routine, musicians can make the most of their time and resources.